Laravel is a popular PHP development framework. It provides developers with a set of tools and resources to build web applications more efficiently. Laravel follows the Model-View-Controller (MVC) architectural pattern, which helps in organising the codebase and separating concerns.
It offers features like routing, middleware, authentication, database management, and templating, making it easier to create robust and scalable web applications. Laravel is known for its expressive syntax, developer-friendly documentation, and a vibrant community, making it one of the top choices for PHP developers worldwide.
Deploy Application in Kloudbean Server
Step 1
Log in to Kloudbean Platforms. On the right top corner click on Add Server then select the target server on which you want to deploy the Laravel application.

If you have launched a server earlier then Click on Add Application.

Then from the dropdown select Laravel. Then click on Add Application button. This will take 2-5 mins to lauch the application.

Step 2: Deploy the Application
There are 2 ways you can deploy your code.
- Deploy using git repository
- Place your code directly into the file manager

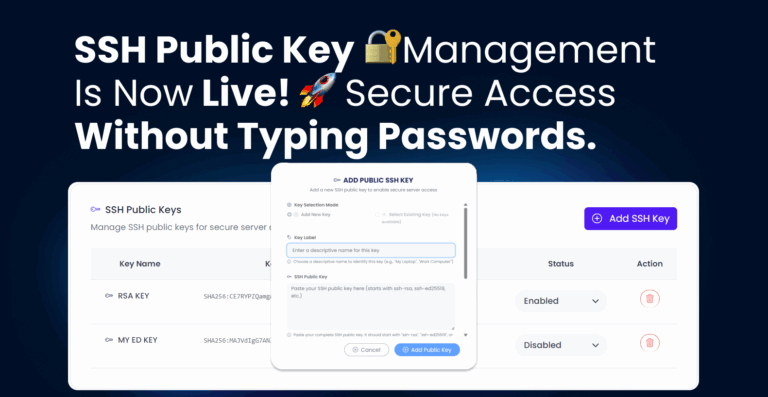
- Click on Generate SSH Key Now
2. On the next page add the Git Address.This will clone your application on the Kloudbean server.
Step 3:
Copy the SSH key and connect it with Github Repo.
Step 4: Run the Composer
In the terminal, go to the application and then to the public_html folder.
cd application/[applicationName]app_html
Execute the Composer Update command for updating the dependencies of the Laravel application. Note that your application folder name is mentioned on the Access Detail Page.
Step 5: Deploy the database into Kloudbean Server (Optional)
If you already have a database for your Laravel application and you’re deploying it for the first time on a Kloudbean managed server, you’ll need to migrate it first.
For that launch the database manager and then import the sql backup file.

Step 6: Launch the File Manager
Open the .env file and update the necessary configuration changes such as application name and database information.
Step 7: Set up Laravel Scheduler
When you need a scheduler for the Laravel application, you only need to add a cron entry to your server. For this, you need to go to Cron Job Management and click on Advanced. Now add the following script, and click Save.
* * * * * /home/[serverFQDN]/[AppUsername]/app_html artisan schedule:run